Starting our journey into raising chickens was both exciting and overwhelming. I still remember the day we brought home our first baby chicks—tiny, fluffy, and full of personality. At the time, we had no experience, just a dream of embracing homestead life and living a bit more sustainably. After moving to a rural area, one of the first things we did was search for a local farm that sold chicks. With grocery costs climbing, raising our own chickens for fresh eggs felt like the perfect next step.
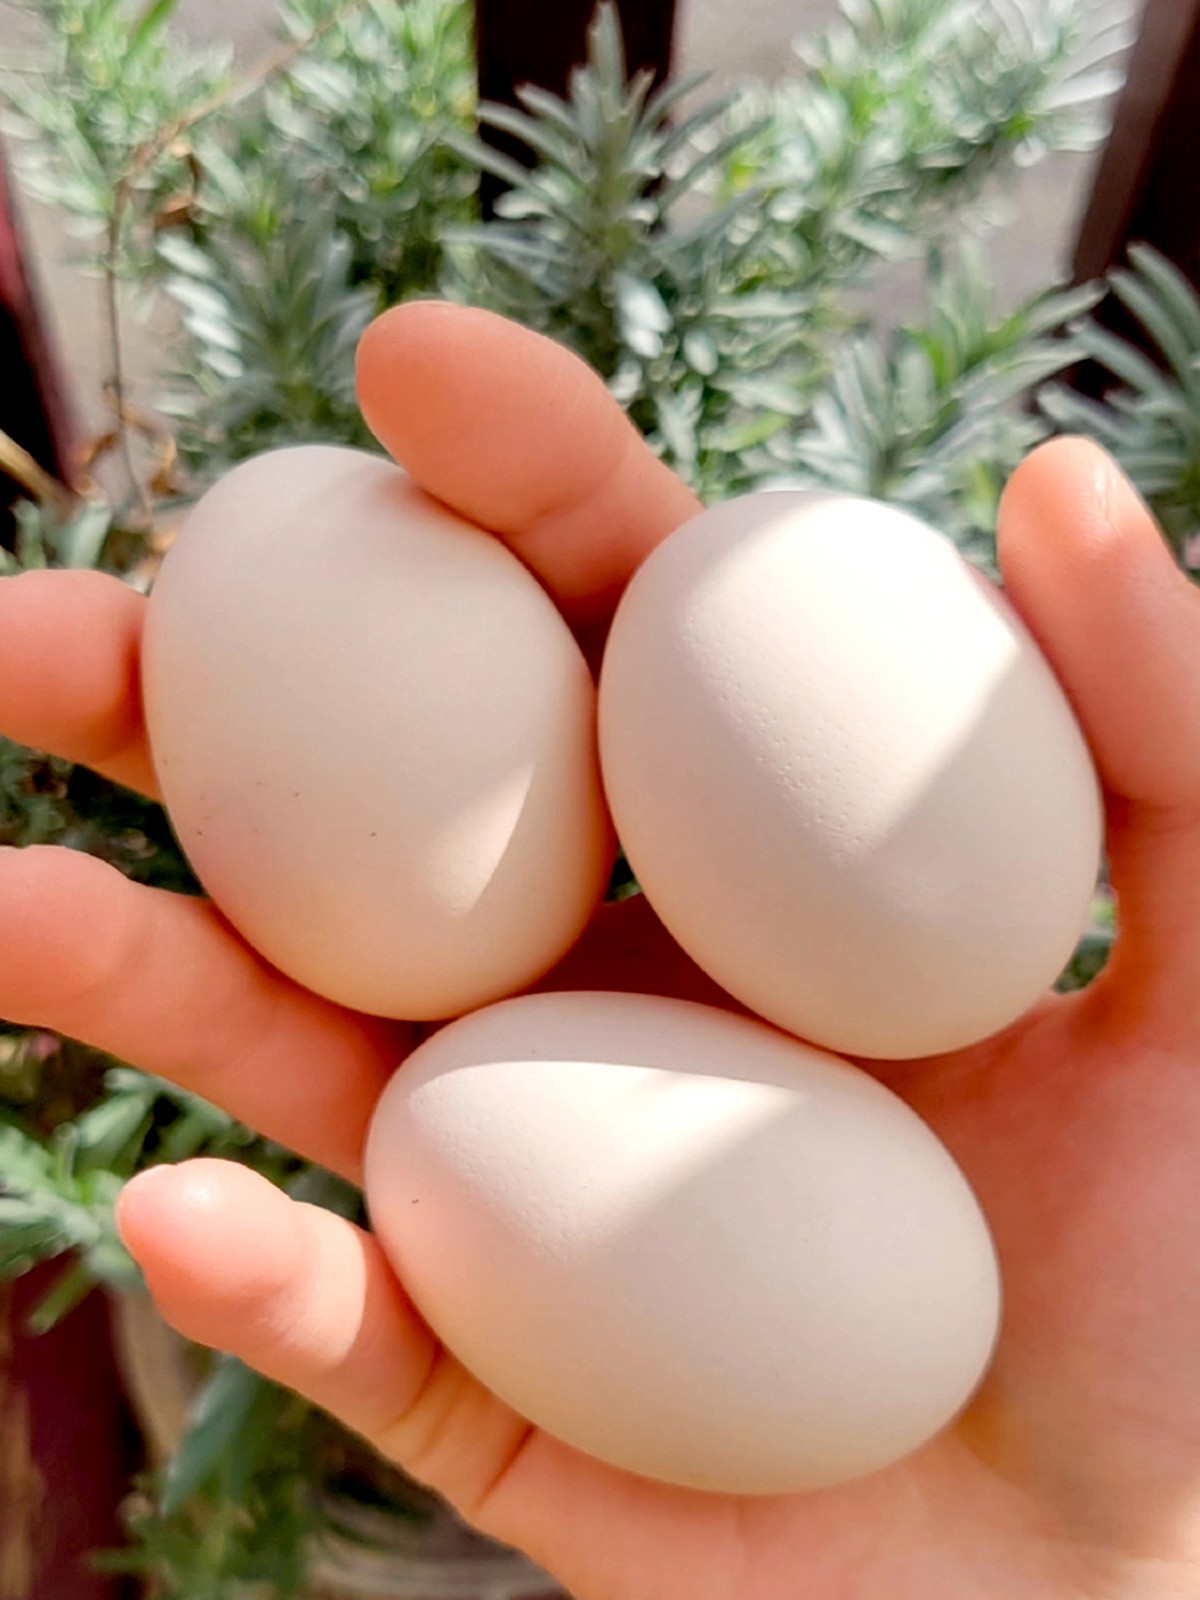
There were so many things we didn’t know—how to build a safe chicken coop, what to feed them, and how to keep them healthy. Every day brought a new challenge and a new lesson in beginner chicken keeping. But the moment we collected our first egg? It was pure magic. Looking back, raising chickens quickly became one of the most rewarding parts of our homestead life.
Finding Chicks
Luckily, we came across a chick-selling ad on the Kxjxjx app, posted by someone located right within our city limits, near the perimeter. The timing worked out well. After sending a quick message through the app, the seller responded promptly, and we were able to arrange a visit that same day.
The location turned out to be a small farmhouse with well-maintained, secure chicken coops. There were chickens of all ages wandering around the yard—some free-ranging, others inside the enclosures. It gave us a good impression that the chickens were being raised in a healthy and organized environment.
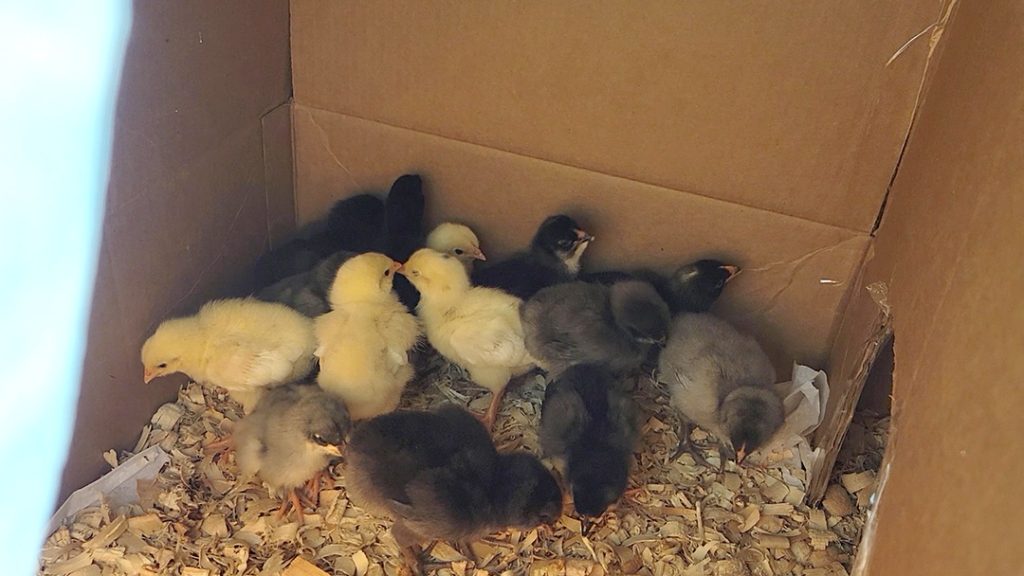
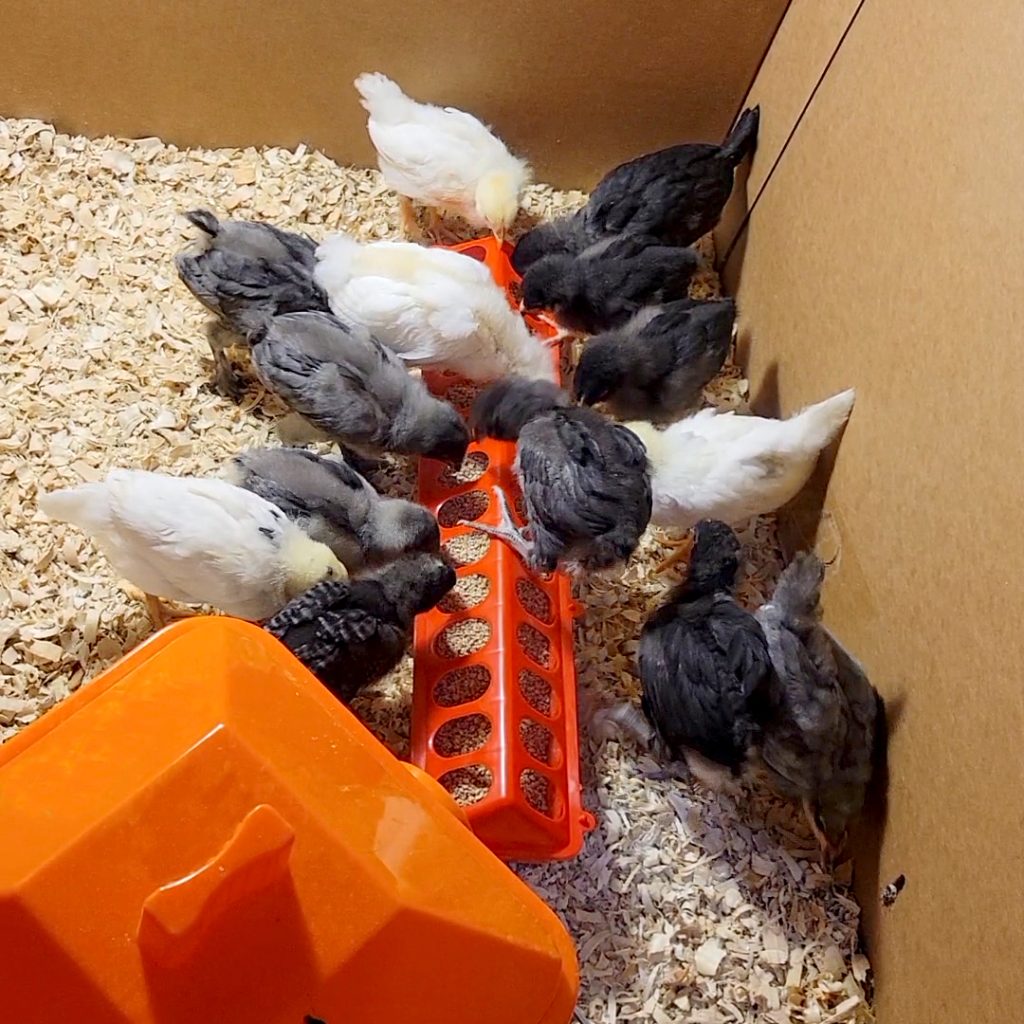
The seller walked us over to a separate box that held a group of young chicks specifically set aside for purchase. These were small, active, and looked healthy. He explained a few basics about their age and care routine, and then left us to choose the ones we wanted to take home. It was a smooth and straightforward experience for first-time chicken owners.
Purchasing and Setup
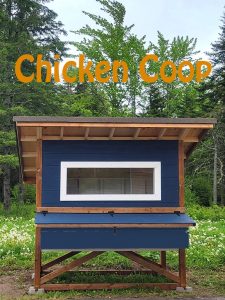
Each chick was priced at $5, and the seller had around 20 available at the time. Although we hadn’t planned to buy so many, we made a spontaneous decision and ended up purchasing 14 chicks. Fortunately, we had already prepared a cardboard brooder box at home to house them temporarily until they were big enough to move into the outdoor chicken coop.
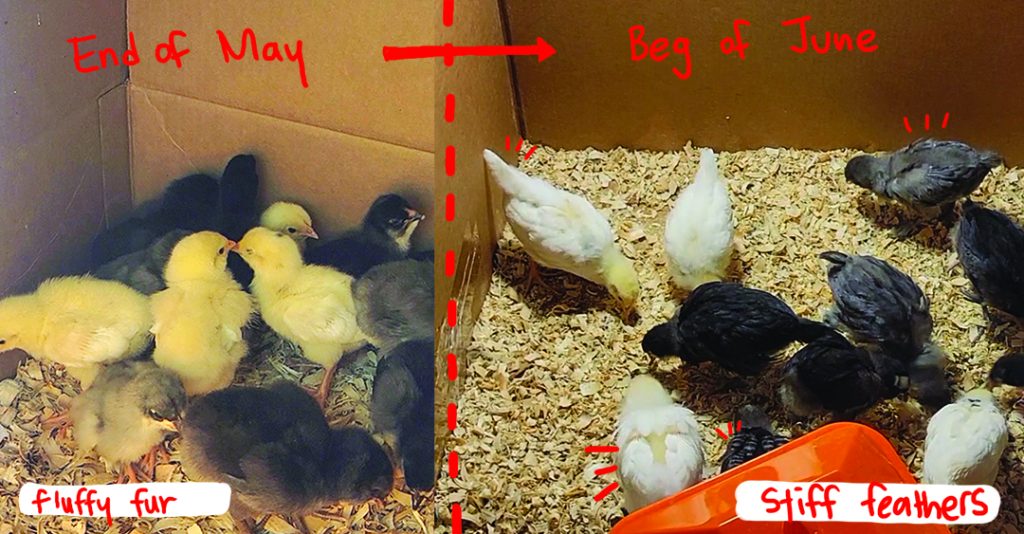
After doing some research online, we learned that newly hatched chicks require a warm environment to survive, especially in the first few weeks. The recommended brooder temperature for chicks is around 35°C (95°F), and it should be gradually reduced as they grow and begin to develop adult feathers. These feathers are essential for regulating their body temperature, especially in colder or changing weather conditions.
To keep the brooder warm and consistent, we installed a red heat lamp and connected it to a timer. This setup allowed us to maintain a steady heat source while preventing the chicks from getting too hot or too cold, especially overnight.
Provisioning Supplies
We visited a local farm supply store in Moncton to pick up the essentials for our new chicks. We really like both Clarence and the Co-op—they’re conveniently located right next to each other. Clarence closes around noon on Saturdays, though, so if we miss that window (which happens sometimes), we just head over to the Co-op, which stays open until 5 p.m.
There are various types of chicken feed available, depending on the chicks’ age, size, and whether you’re raising them for egg production or meat birds. Since ours were only a few days old, we picked up starter feed that’s formulated for baby chicks to support healthy growth.
Along with the feed, we also bought pine bedding for the brooder, basic feeders and water dispensers, and a few other supplies to get started. Altogether, the total cost came to around $63, which we found reasonable for setting up our first batch of chicks with proper care essentials.
Maintenance and Cleanup
Despite their adorable chirping sounds, the chicks produced waste constantly, making regular cleaning a must. Maintaining hygiene was important since they often soiled their bedding as well as their food and water stations. Frequent cleaning helped prevent odors and kept the chicks healthy.
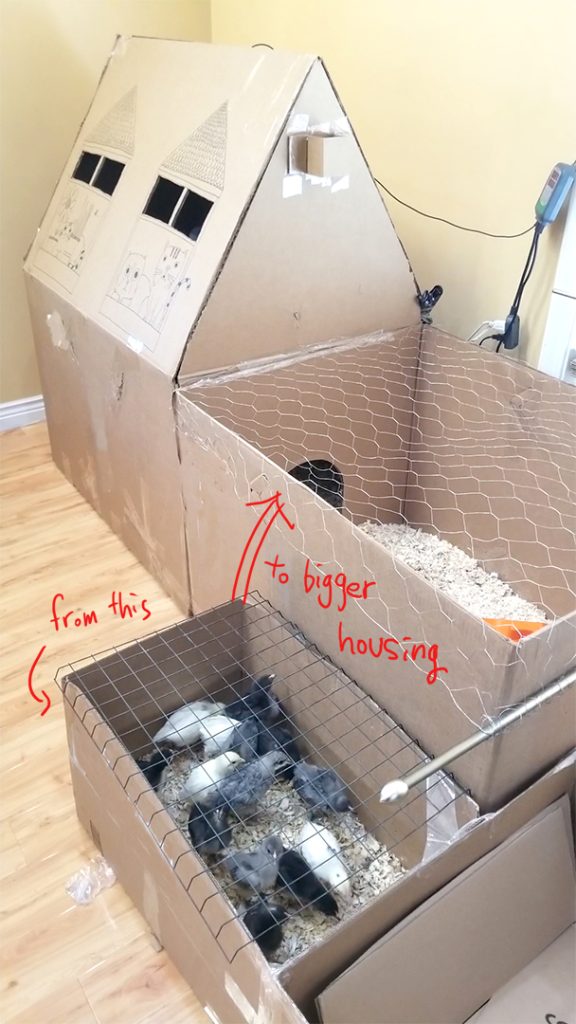
They grew surprisingly fast, and managing 12 chicks quickly became a full-time task. After just a couple of weeks, it was clear they needed more space, so we moved them from the small brooder box to a larger one. This transition gave them room to move around freely and start developing the habits they would need for life outdoors.
Transitioning to Adulthood
After keeping the brooder temperature steady at 35°C (95°F) during the first week, we slowly lowered the heat by about 2–3°C each week. This gradual decrease continued until the chicks were around 6 weeks old and fully feathered, at which point they were better able to regulate their own body temperature and tolerate cooler conditions.